Disclosure:Some of our pages include affiliate links. If you make a purchase through one of these links we may earn a small commission at no cost to you. Facemakeupproducts.com is a participant in the Amazon Services LLC Associates Program, an affiliate advertising program designed to provide a means for sites to earn advertising fees by advertising and linking to Amazon.com. You can learn more here about our
Affiliate & Privacy Policy
Applying makeup to your face can be a complicated business especially as everyone has their own special routine. Here we take you through the process from the start to that flawless finish to ensure that you are going about your makeup application correctly.
Cleansing & Moisturising your Face
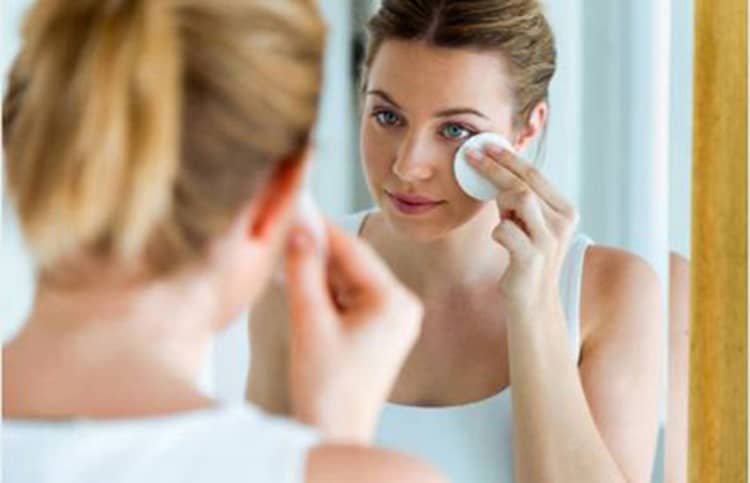
Before you start to think about applying makeup to your face, it’s important to take good care of your skin by cleaning and moisturizing it. Clean your face and neck using a cleansing water and cotton pads. Massage in the Moisturizer by dabbing a little on a few key areas of the face such as the forehead, chin and cheeks.
It is best to smooth in an upward motion from the center out until the moisturizer is completely absorbed. Moisturize the entire neck including the back of the neck to keep it smooth and taut. In addition moisturize your lips with a great lip balm.
Applying Face Primer

When choosing a face primer consider your skin type and concerns aswell as your desired finish (matte, dewy, or satin). Select a primer that complements your foundation and other makeup products for optimal performance and compatibility in achieving your desired makeup finish.
Apply a small amount of face primer to clean moisturized skin before applying foundation or other makeup products. Allow the Face Primer to set for a few minutes before continuing with your makeup routine. Different face primers cater to specific skin types and individual needs. Additionally the compatibility of the primer with your chosen foundation play a role in achieving the desired makeup finish.
Applying Foundation
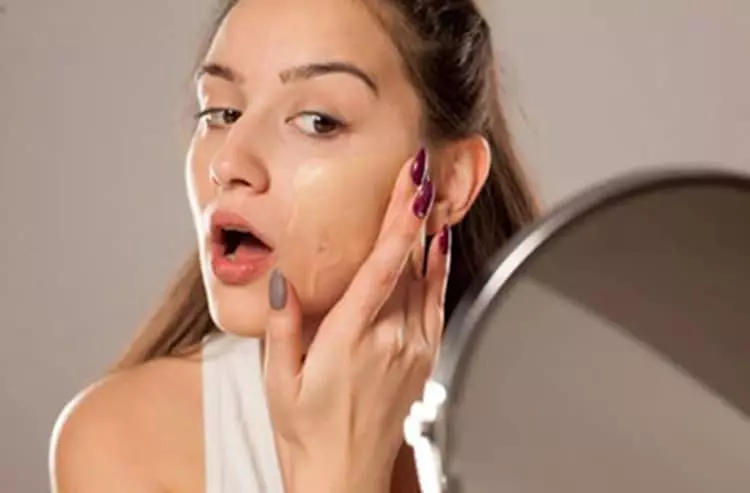
When selecting a foundation shade consider your skin undertone (warm, cool, or neutral) and match it to the closest shade available. Test the foundation on your jawline or neck to ensure a seamless blend with your natural skin tone. The method you choose may depend on your personal preference and the type of finish you desire. Use your fingertips for a sheer and natural finish blending it evenly over the face. For a flawless and airbrushed look dampen a makeup sponge and use a bouncing motion to apply and blend the foundation. If you are looking for a more precise and polished finish use a foundation brush to apply and buff the foundation into the skin.
After applying foundation set it with a translucent powder to increase it's longevity and reduce shine. This is particularly important if you have oily skin and helps to lock the foundation in place and prevent it from smudging or fading throughout the day.
Applying Concealer
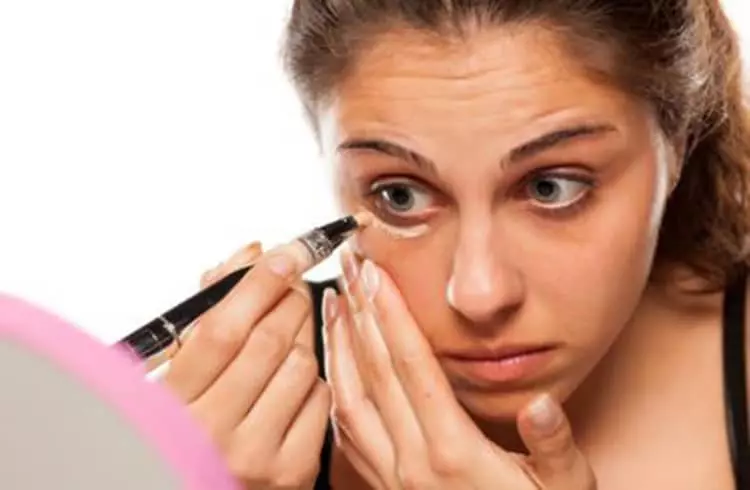
Selecting a concealer that matches your skin tone is essential for a natural look. Choose a shade slightly lighter than your foundation for brightening the area under the eye. Choose from different colors to address specific skin concerns such as green for neutralizing redness, peach or orange for canceling out dark circles and lavender for brightening dull or sallow skin. Apply the Concealer in a triangular shape with the base along your lower lash line and the point toward your cheek. This brightens the area under the eye.
For blemishes dab Concealer directly onto the blemish and blend the edges for a seamless look. For redness pat the concealer onto areas with redness and blend gently. To prevent creasing set your concealer with a translucent setting powder. This helps to keep the concealer in place and provides a smoother finish. Use a blending sponge or your fingertips to gently blend the product into the skin as well moisturized skin provides a better base for concealer application.
For blemishes dab concealer directly onto the blemish and blend the edges for a seamless look. For redness pat the concealer onto areas with redness and blend gently. You should always apply concealer on top of your foundation so it doesn't smudge. Choose a color one or two shades lighter than your complexion. Apply to clean, makeup free skin with a brush or fingertip for best results. If you have dry skin, don't go for a liquid concealer with a matte finish because the finish will emphasize dryness. If you have oily skin with enlarged pores, don't go for a creamy or stick concealer as these textures tend to clog and magnify the appearance of pores, plus they tend to add an oily shine
Applying Highlighter
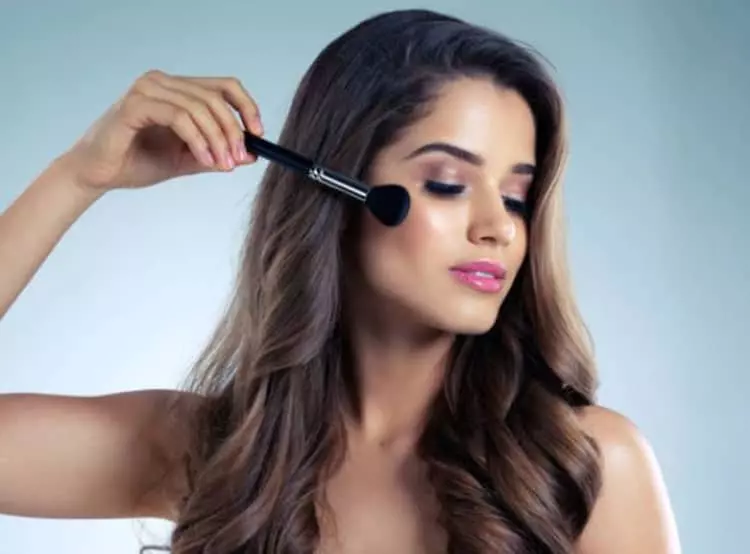
Consider your skin type when choosing a highlighter. Powder formulas work well with oily skin while cream or liquid formulas have a more hydrating effect for dry skin. Champagne, rose gold and peachy tones are universally flattering and work well for most skin tones. However, there are also highlighter available in a range of hues, including gold, bronze, and icy white to suit various preferences and skin tones.
Use a brush, sponge or fingertips to apply and blend the highlighter seamlessly into the skin. It is important to blend the highlighter well to achieve a natural looking glow and avoid any harsh lines. Start with a small amount and build up if needed. It's easier to add more than to remove excess. Apply highlighter to the top of the cheekbones to create a lifted and sculpted appearance and to the cupid's bow (the dip in the upper lip) to enhance the lip shape and the brow bone which opens up and brightens the eyes. After applying the highlighter wipe a contour powder along the sides of your nose along the forehead (near your hairline) and the hollows of your cheekbones.
Applying Blush
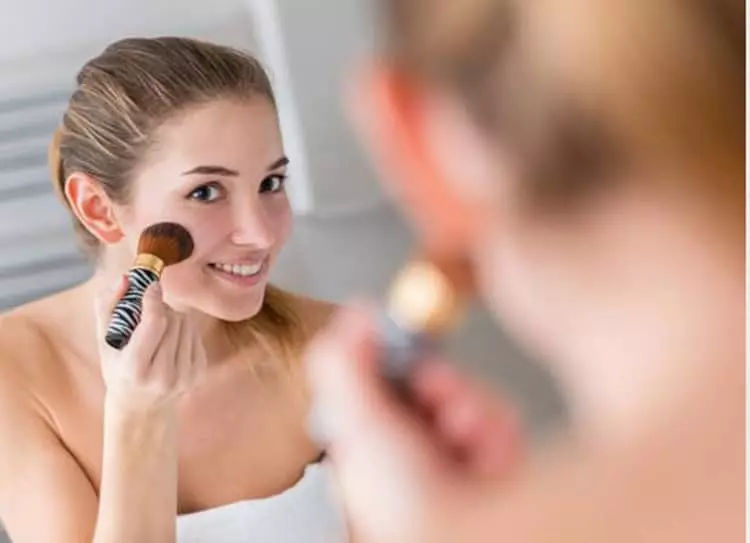
When selecting a blush shade choose one that compliments your skin tone and undertone. For those with fair skin lighter shades like soft pinks and peaches work well. Warm rose or coral shades are great for warmer medium skin tones while richer hues like berry or terracotta work well on deeper skin tones. Apply blush to the apples of your cheeks using your fingers extending upwards toward the temples or for a more sculpted appearance slightly higher on the cheekbones. Start with a small amount of Blush and build up the color gradually to avoid applying too much at once.
Adjust the placement of blush based on your face shape. For example those with a round face may want to focus on the outer edges to elongate the appearance of the face. Layer different blush shades to create dimension and customize your look. For example you can layer a matte blush under a shimmering one for added depth and luminosity. After applying blush you can set it with a translucent powder to enhance longevity and prevent fading throughout the day.
Applying Eyeshadow
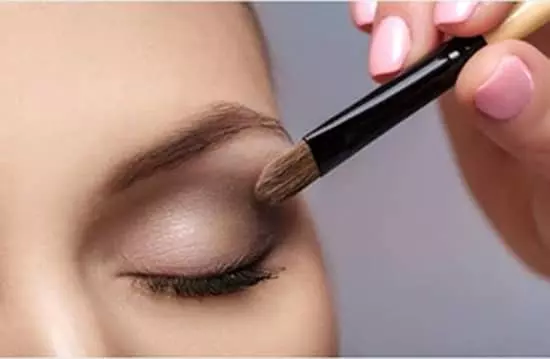
Consider your eye color when choosing an eyeshadow shade that complements or enhances it. Applying an eyelid primer or concealer before applying an eyeshadow helps create a smooth base, even out the skin tone and enhances color payoff and improves longevity. Apply eyeshadow to the lids and just below the lash line of the eyes using a fluffy blending brush layering it on gradually. Applying a lighter eyeshadow shade or a dedicated highlighter to the inner corners of the eyes and under the brow bone brightens the eyes and adds a finishing touch to the eyeshadow look.
Proper blending is key for a seamless and professional looking eyeshadow application. Blend the eyeshadow into the socket line but not all the way up to the eyebrows. Use a fluffy blending brush to blend eyeshadows together ensuring there are no harsh lines or edges. Layering different shades of eyeshadow adds dimension and depth to the eyes. Start with a lighter shade as a base and gradually build up the intensity with darker shades in the crease and outer corner.
Different eyeshadow techniques can be used to enhance or modify eye shapes such as the application of darker shades in the crease or the use of lighter shades on the lid. Neutral Tones such as browns, taupes, and grays are versatile for everyday looks. Use blues, greens, purples and reds for more daring and creative looks. If they you are using a water based Foundation to cover your face you should always go with cream eyeshadows to avoid the cakey makeup look. If you are using a powder makeup base use a water based liquid eyeshadow.
.
Applying Eyebrow Makeup
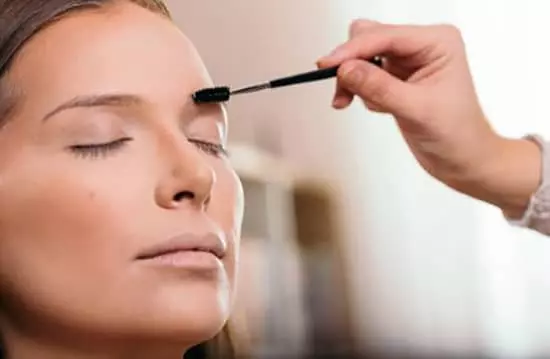
When choosing an eyebrow product consider factors such as your natural brow color, desired intensity and preferred application method. It's important to fill in the eyebrows to frame the face by choosing an eyebrow color slightly paler than your natural color.
Always fill in with light feathery strokes to accentuate and elongate your features as much as possible. A defined brow pencil comes in a variety of shades and some incorporate a blending brush.
Applying Eyeliner
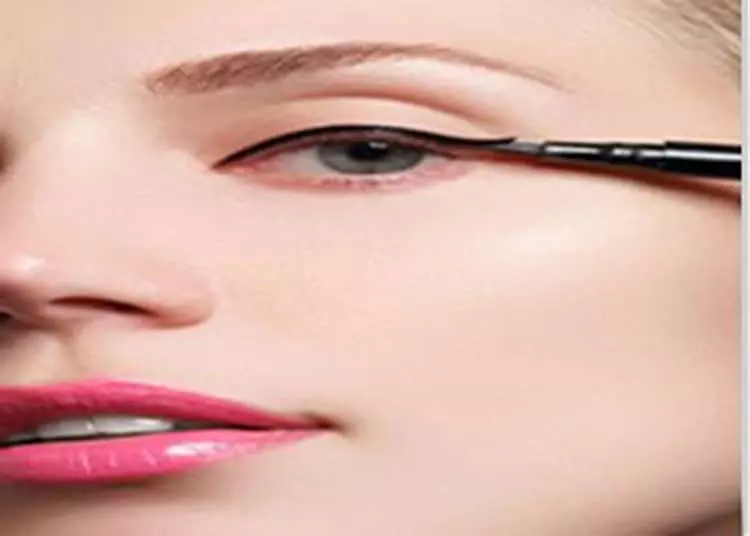
When applying an eyeliner techniques vary depending on the desired look. Common styles include a thin line along the lash line for a natural look or a thicker more dramatic line for a bold appearance Using either a liner wand or a liner brush trace the ink along the base of your lashes starting at the middle of the eye and going outward. Use a slightly bigger brush, a finger or a Q-tip to leave it crisp. Draw a line with an eye pencil working over the line already made with the liquid eyeliner to intensify the look. Using a brush, blend and extend out. Trace the pencil along your bottom lashes and blend again.
Applying eyeliner to the upper waterline (the area between the lashes) makes the lashes appear fuller and the eyes more defined. Extending the eyeliner beyond the outer corner of the eye creates a winged effect adding drama and lifting the eyes. Smudging eyeliner with a brush or fingertip creates a soft, smoky effect that enhances the eyes and gives a more sultry look. Layering different types of eyeliner (e.g., pencil over liquid) can intensify the color and longevity of the eyeliner.
Enhancing Eyelashes
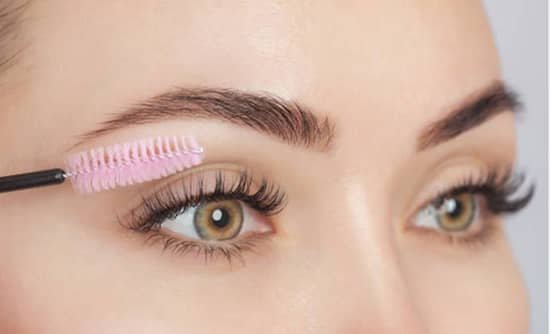
Start with clean lashes for best results. Use an eyelash curler before applying mascara to achieve a more lifted and curled lash appearance. If your looking for a dewy eye look put a little more Mascara on the middle lashes. Build slowly and in layers from the roots to the tip of your lashes and wiggle the wand back and forth to ensure even coverage. You can apply multiple coats for added volume or length ensuring each coat is dry before layering. For lower lashes use a smaller wand or tilt your head slightly downward to avoid smudging. Use a lash comb or clean mascara wand to separate and remove any clumps.
If you accidentally get mascara on your eyelids or face wait for it to dry completely then gently remove it with a clean brush or cotton swab dipped in gentle eye makeup remover without tugging on your lashes. Remove any excess mascara from the wand by wiping it gently on the rim of the tube to prevent clumping. Replace your mascara every three to six months to prevent bacteria buildup and ensure product freshness.
Applying Bronzer
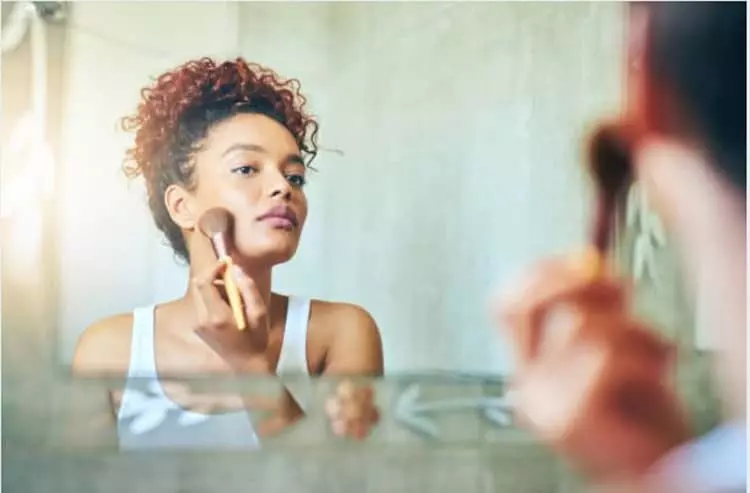
When selecting a bronzer opt for a shade that is only a few shades darker than your natural skin tone. Bronzers with warm undertones such as golden or amber hues tend to look most natural and flattering on many skin tones. Apply a small amount of bronzer and gradually build up to your desired level of bronze. This allows for better control over the intensity of the color. Adding a little Bronzer with an angled brush under the cheekbones provides a contour and gives your face a chiseled look. Apply cream or liquid bronzer with your fingertips or a damp makeup sponge for a more natural and dewy look. Blend the bronzer into the skin using tapping or dabbing motions.
Blending is crucial for a natural looking finish. Make sure to blend the bronzer into the skin especially along the edges to avoid harsh lines. Use a fluffy bronzer brush when applying powder bronzer to the areas of the face where the sun naturally hits such as the high points of the cheeks, temples and along the jawline. Blend the bronzer outwards towards the hairline for a seamless finish. Bronzers can be layered with other face makeup products like blush and highlighter to create dimension and enhance your overall complexion. Start with a light hand and gradually build up the intensity as needed. After applying bronzer you can set it with a translucent powder to ensure longevity and prevent it from shifting or fading throughout the day. Using your fingers, a brush or a sponge effortlessly build, blend and buff bronzer on to areas where the sun naturally hits including cheekbones, bridge of nose, temples and forehead.
Applying Lip Liner
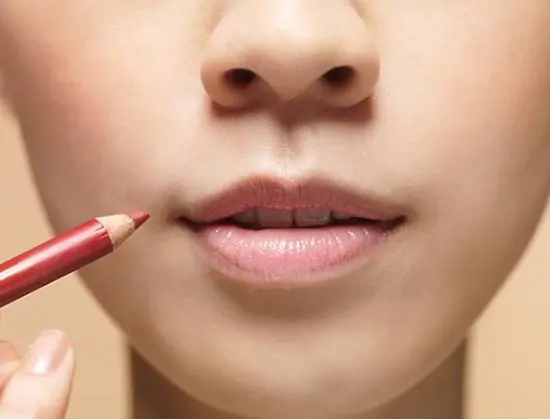
Before you apply any lip color make sure your lips are smooth and hydrated with your favourite lip scrub followed by your go to lip balm. Select a lip liner that matches your natural lip color or is one shade darker than your lipstick. You can also use a clear lip liner that works with any lip color. Outline the natural shape of your lips or slightly overline for a fuller appearance. After outlining you can fill in the entire lip with the lip liner creating a base for your lipstick, helping it adhere better and last longer. Follow the natural contours of your lips working your way from the center towards the corners. Pay close attention to the outer corners where feathering is more likely to occur. Blend the edges of your lips with a lip brush to ensure a seamless transition between the liner and your lipstick.
The color lipliner you use depends on what look you're trying to achieve. If you want a natural look choose a lip liner that is as close to your actual lip color or one shade darker than your lips. This helps add slight definition and volume. For a bold lipstick look always try to find a color in the same color family. For example, orange undertones go together, whereas orange and purple do not. Stay within the natural lines of your lips when using lip products to maintain a balanced look. Start with a small amount of lipliner and build up gradually to avoid an unnatural appearance. Sharpen your lip liner regularly for a more accurate application.
Applying Lipgloss
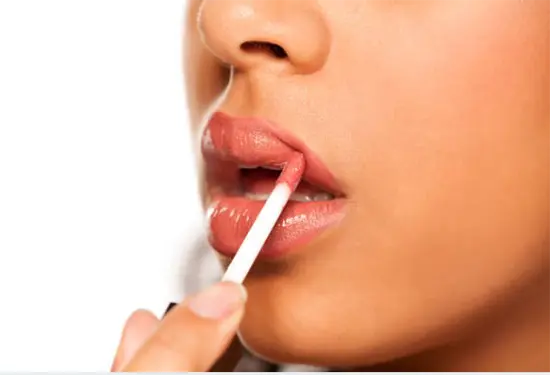
Before applying lipgloss start with clean moisturized lips by applying a lip balm or lip conditioner first. Opt for clear or subtle shades for a natural daytime look. Choose bold or sparkly lip gloss for special occasions or evenings. To make your lip gloss last longer outline your lips with a lip liner before applying. Start with a small amount and add more as needed. Overapplying may lead to a sticky feel. Use an applicator wand or your fingertip to apply the lip gloss to the center of your bottom lip. Press your lips together to distribute the gloss evenly. Lip gloss can be layered over lipstick to add shine or can be worn alone for a natural, glossy look. For a less intense shine, blot your lips with a tissue after applying lip gloss.
Applying Lipstick
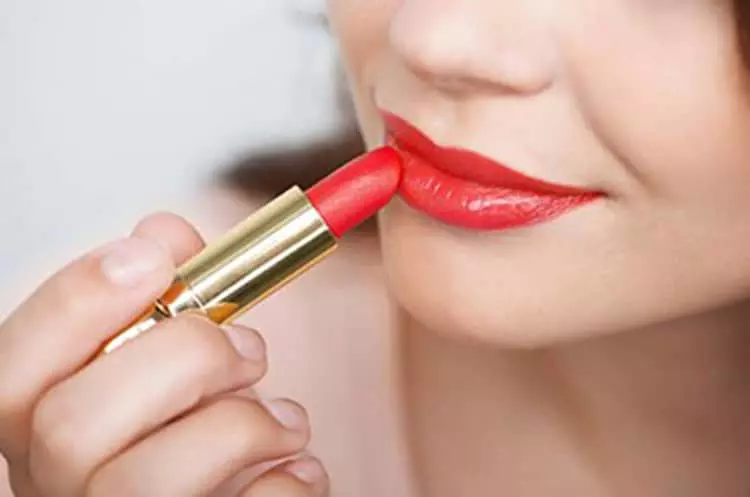
Consider your skin undertone when selecting a lipstick shade. Warm undertones often complement warm hues while cool undertones work well with cooler shades. Deciding on a matte or glossy lipstick depends on your mood, the occasion, your style and the season. Matte lipsticks need a little bit more prep time with a lip scrub to exfoliate your pout to ensure a smooth base. A glossy lipstick is easy to just swipe and go for those more natural makeup days.
Exfoliate your lips with your favourite lip scrub and give them a much needed boost of hydration with your favourite lip oil or balm to ensure a smooth lipstick application. Outline your lips with a lip liner to define your lip shape and prevent feathering. >Use a small flat lip brush for a precise application or apply directly from the lipstick tube starting at the center and moving outward. Blot your lips with a tissue and reapply for longer lasting color. To increase lipstick longevity blot your lips with a thin layer of translucent powder tissue after the first application and reapply for longer lasting color. If you are looking for a good long wear and transfer proof lipstick you should use a matte liquid lipstick or a very matte traditional lipstick, and do the kiss test. Apply the lipstick to your lips, let it dry down completely for a few minutes and then kiss the back of your hand. The amount of lipstick which goes onto your hand will give you a good indication about how transfer proof your lip product is.


